Makeup for Men

Daily / date routine

The Quick routine plus mascara, spot concealing and a touch of warmth. There's still no base on the skin, so nothing rubs off on collars or another person's face.

~5 mintotal
0/9steps done
9 steps · about 5 min

Short on time? Switch to the Quick routine. Under-eye, brows and lips carry most of the effect.

WhereWhole face

01/091 minCore step

Prep the skin

Makeup sits on top of whatever is there. Flakes and grease show through; on moisturised skin, every product looks like skin.

How

  1. Wash with lukewarm water or your normal cleanser and pat dry.
  2. Apply a thin layer of the SPF fluid (or your moisturiser at night), including under the eyes.
  3. Give it 1–2 minutes to sink in (do your hair meanwhile). Product on top of wet moisturiser slides around and pills.

Avoid

  • Rich, greasy creams right before makeup.
  • Scrubbing hard: red, irritated skin is harder to even out.

With light stubble, shave before this step, ideally an hour earlier so razor redness can calm down.
WhereUpper lashes, from the root to the middle

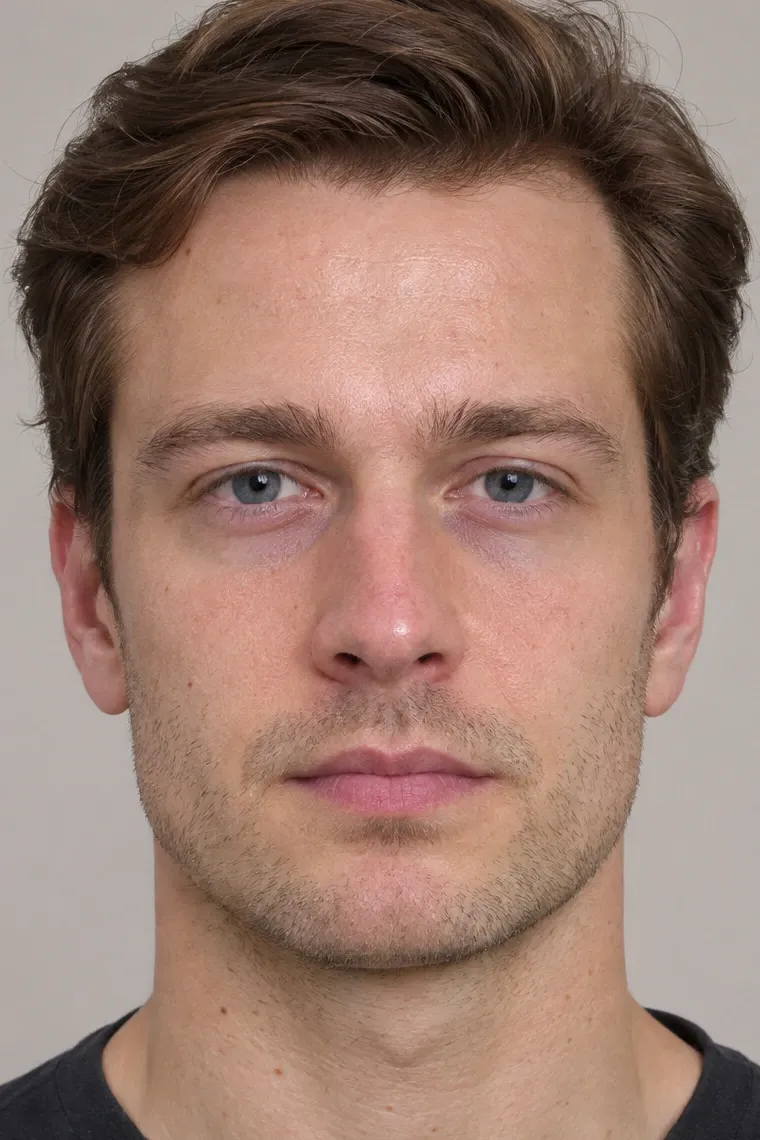
After: Lashes curled
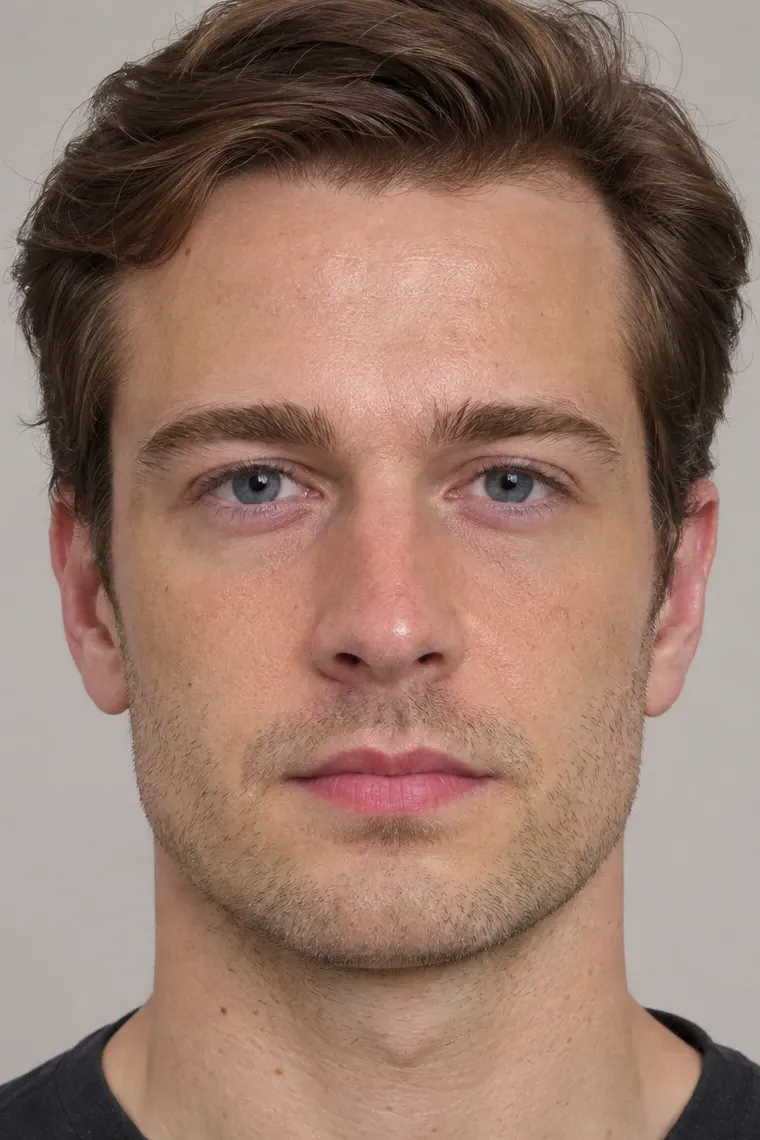
Before: No makeup

Drag or use the arrow keys to compare.

Lash curler: at the roots, gentle squeeze, then the middle, open before pulling away

02/0930 sCore step

Curl the lashes

Lifts the lashes out of the lid's shadow, so they look longer and the eyes more open. On looksmax it's one of the most praised eye tricks, as long as the curl stays light.

How

  1. Hold a mirror at chin height and look down into it. Looking up is the most common mistake.
  2. Open the curler and slide the lashes in, as close to the roots as you can without catching skin.
  3. Squeeze gently for 5 s at the base. Release, move to the middle of the lashes and squeeze for 3 s. Leave the tips alone.
  4. Open the curler fully before pulling it away. Repeat on the other eye.

Avoid

  • One hard clamp halfway up: it makes a sharp kink that looks done.
  • Over-curling. A strong C-curl looks feminine; looksmax users name “crimped” lashes as the giveaway. You want lifted, not doll-like.
  • Curling after mascara: lashes can break or get pulled out.

For a longer hold, warm the curler with a hairdryer for 3–5 s and test it on your wrist first: warm, never hot.

WhereUpper lashes, from the root to the middle

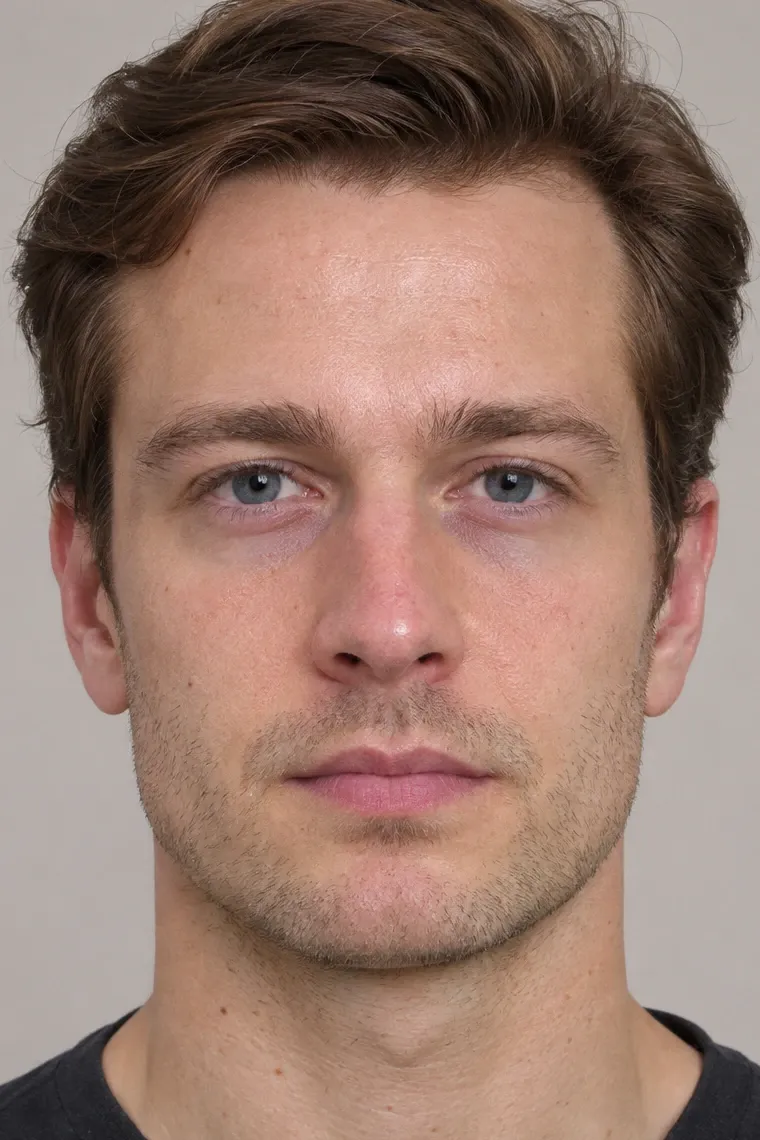
After: Mascara
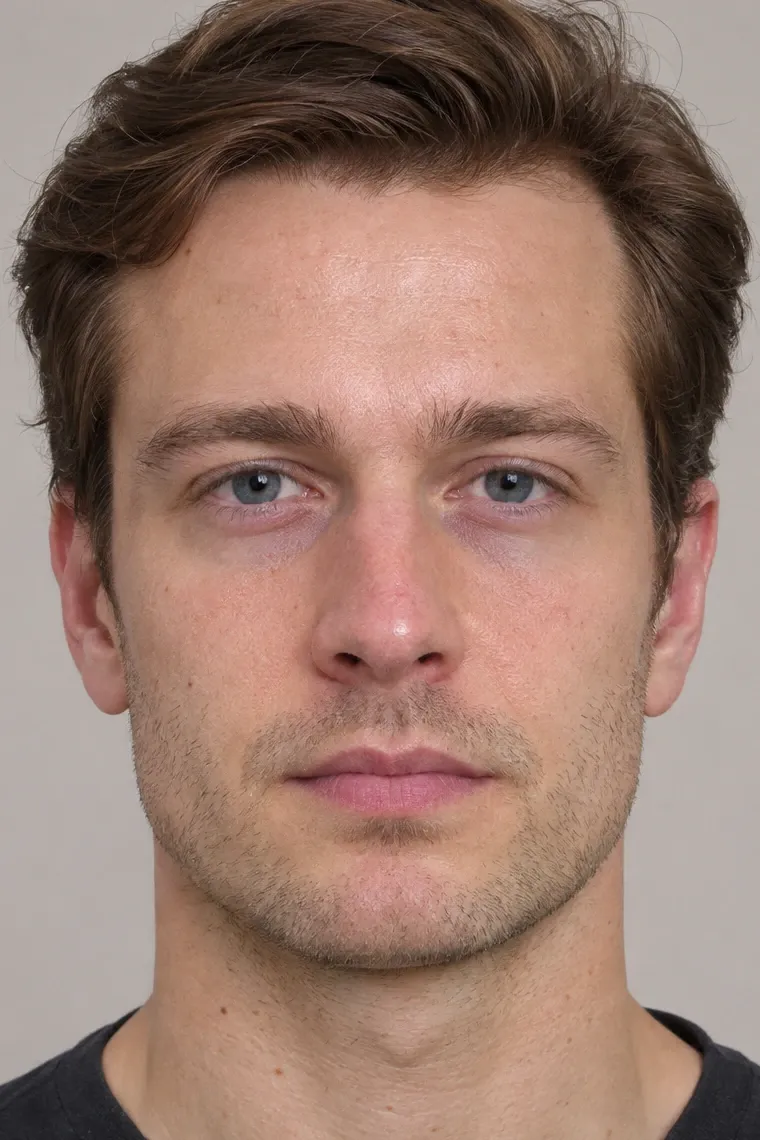
Before: Lashes curled

Drag or use the arrow keys to compare.

Mascara: wiggle at the roots, then sweep up and out once

03/0945 sCore step

One coat of mascara at the roots

Holds the curl and darkens the base of the lashes, so the lash line looks thicker. It reads as naturally dark lashes, not makeup.

How

  1. Wipe the wand on the tube rim or a tissue; most of the product should come off.
  2. Look down, put the wand at the lash roots and wiggle it side to side for 2 s.
  3. Pull it up and out through the lashes. One coat, and don't load the tips.
  4. Lower lashes: nothing.
  5. After 1 minute, check for dots on the lid or under the eye and lift them off with a dry cotton bud.

Avoid

  • Mascara on the lower lashes: the fastest way to look made up.
  • A second wet coat on top: it clumps and looks spidery.
  • Pumping the wand in the tube: it pushes in air and dries the mascara out.

Replace mascara every 3 months to keep bacteria away from your eyes.

WhereInner corner and tear trough under each eye

After: Under-eye brightener
Before: Mascara

Drag or use the arrow keys to compare.

Under-eye brightener: one short line at the inner corner, tapped in with the ring finger

04/0945 sCore step

Brighten the under-eye shadow

Dark circles make a face look tired. Makeup artists and looksmax guides agree that this step has the biggest effect per second.

How

  1. Find where it's actually dark: usually only the inner corner next to the nose, along the tear trough.
  2. Put a tiny amount of the stick on your ring finger, or draw one short line straight onto the inner corner.
  3. Tap (don't rub) until the edges disappear. Go outward only as far as the shadow goes.
  4. Check in daylight, looking straight ahead: you want less shadow, not a lighter patch.
  5. Still dark? Tap one dot of the concealer on top, only there.

Avoid

  • The big upside-down triangle down the cheek. That's a highlighting technique for women, and on men people notice it straight away.
  • Thick layers, which crease into fine lines.

Use your ring finger: it presses the most lightly, and its warmth melts the product into the skin.

WhereOnly on blemishes and red patches (often beside the nose and on the chin)

After: Spots concealed
Before: Under-eye brightener

Drag or use the arrow keys to compare.

05/0945 sOptional

Spot-conceal redness

Covering the few things people notice beats covering your whole face. With no base, nothing rubs off when you're up close.

Only on days with a blemish, redness around the nose or chin, or razor bumps.

How

  1. Dab a pinhead of concealer right on the spot or red patch.
  2. Wait 30 s so it thickens a little.
  3. Tap only the edges with a clean fingertip until there's no border, and leave the centre alone.
  4. Add a second thin layer only if it still shows.

Avoid

  • Smearing it into stubble. Tap around the hairs.
  • Piling it onto raised spots. You can hide colour, not bumps, and texture shows through thick product.

Neutral Ivory hides redness without turning pink. Your fingertip's warmth melts the edges best.

WhereA “3” on each side (temple, cheekbone, jaw) plus the nose bridge

After: Bronzer
Before: Spots concealed

Drag or use the arrow keys to compare.

Bronzer: tap off the excess, then a soft “3” from temple to jaw

06/0930 sOptional

A light sweep of bronzer

Adds the warmth of a little sun. A looksmax beginner guide calls bronzer the product almost everyone benefits from, and fair skin in evening light looks tired.

Most useful in winter, under evening light, or when you look tired.

How

  1. Swirl the brush in the bronzer and tap off the excess on the back of your hand.
  2. Sweep a “3” on each side: from the temple, over the top of the cheekbone, down along the jaw.
  3. With what's left on the brush, make one stroke down the bridge of the nose.
  4. Blend the jaw edge down onto the neck so there's no line.

Avoid

  • Too much. If you can see where it is, buff it out with a clean brush.
  • Adding more in bathroom light. Check at a window first.

Start with half of what you think you need. You can always add more.

WhereBrows, brushed up and out

After: Brow gel
Before: Bronzer

Drag or use the arrow keys to compare.

Brow gel: brushed up, then out, starting from the middle

07/0920 sCore step

Set the brows

Groomed brows frame the eyes and make the whole face look sharper. A tinted fibre gel fills gaps without looking drawn on.

How

  1. Wipe the excess off the wand on the tube rim.
  2. Brush the hairs up first, then outward along their natural direction, in light strokes. Start from the middle, not the inner end, which gets overloaded.
  3. Where there are gaps, flick the gel against the growth once, then brush it back.
  4. That's it. Don't reshape the outline.

Avoid

  • The laminated look (every hair brushed straight up, flat and glossy). It's a women's trend.
  • Too much product at the inner end, which makes a blocky start.

Pluck the stray hairs between and under the brows every two weeks. It's quick and does more than any product.

WhereLips

After: Daily routine done
Before: Brow gel

Drag or use the arrow keys to compare.

08/0910 sCore step

Tinted balm

Smooth lips with a healthy colour. Dry, pale lips look ill, and nobody reads balm as makeup.

How

  1. Dab it on the centre of both lips.
  2. Press your lips together, then blot once on the back of a finger.
  3. Reapply during the day as normal balm.

Avoid

  • Tracing the edges or applying it like lipstick.
  • Gloss.

WhereWhole face

After: Daily routine done
Before: No makeup

Drag or use the arrow keys to compare.

09/0920 sCore step

Daylight check and pocket kit

Bathroom light hides edges and wrong shades. 20 seconds at a window catches almost every mistake.

How

  1. Face a window and check the jaw edge, the under-eye edges, mascara dots, and product caught in brows or stubble.
  2. Smile. If anything creases under the eyes, tap it smooth with a finger.
  3. Pocket: blotting papers and the lip balm.
  4. When your forehead or nose gets shiny, press (don't wipe) a blotting paper onto it.

Avoid

  • Putting powder on top of shine. Blot first; powder on oil looks cakey.

How the face changes

The face after each visible step. Select one to open that step.

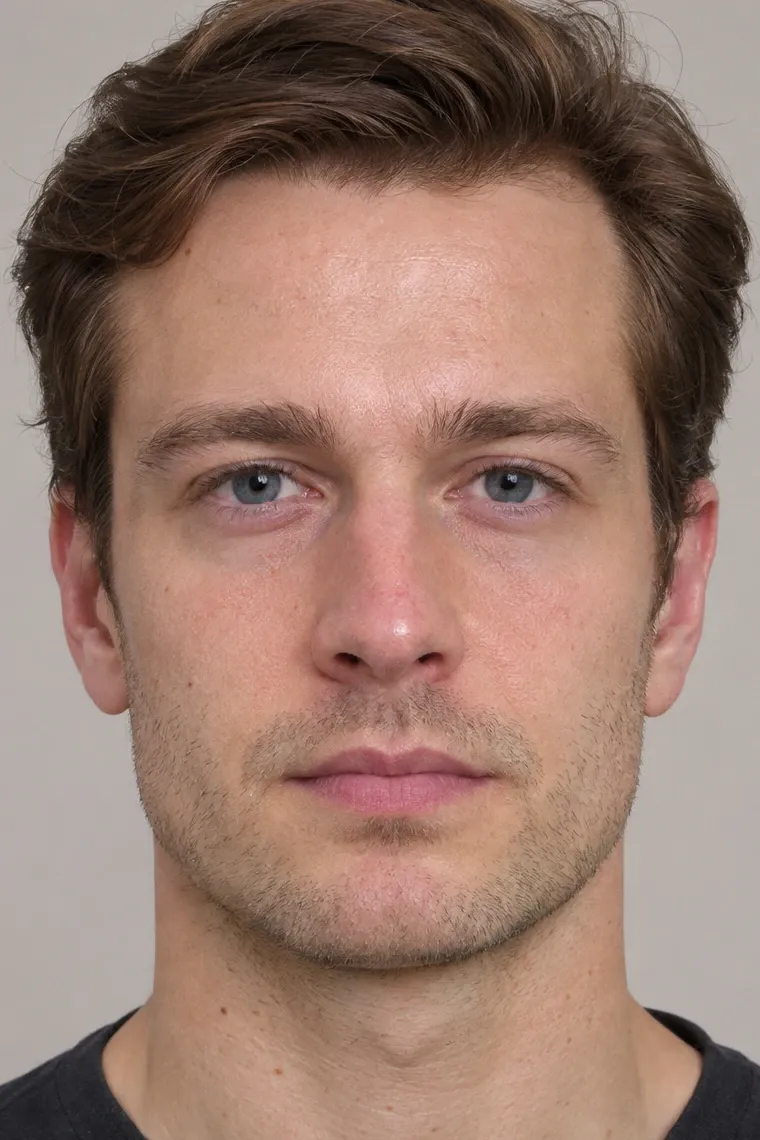
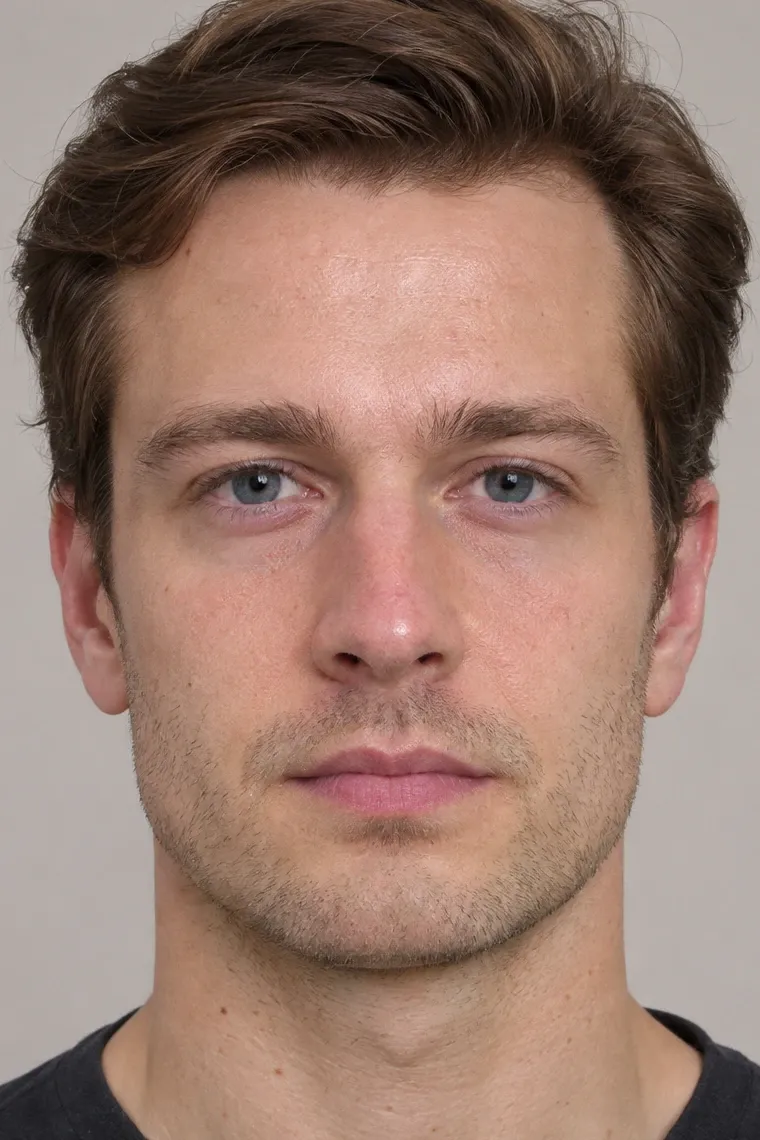
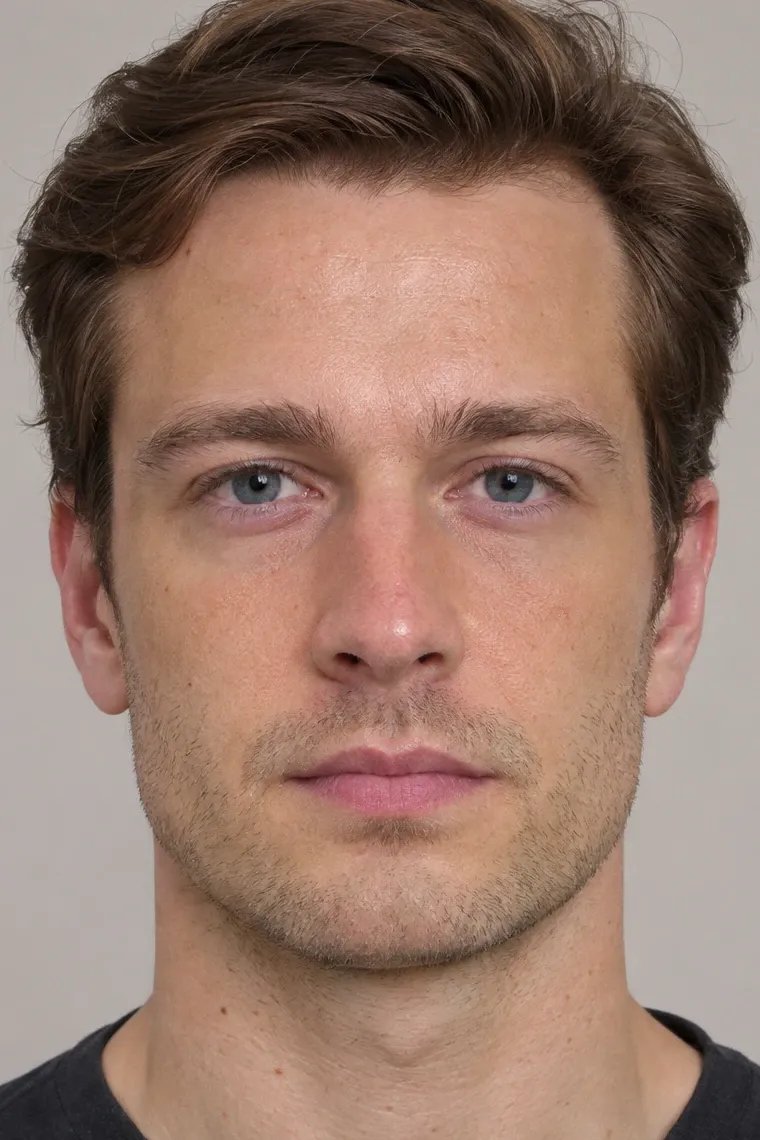
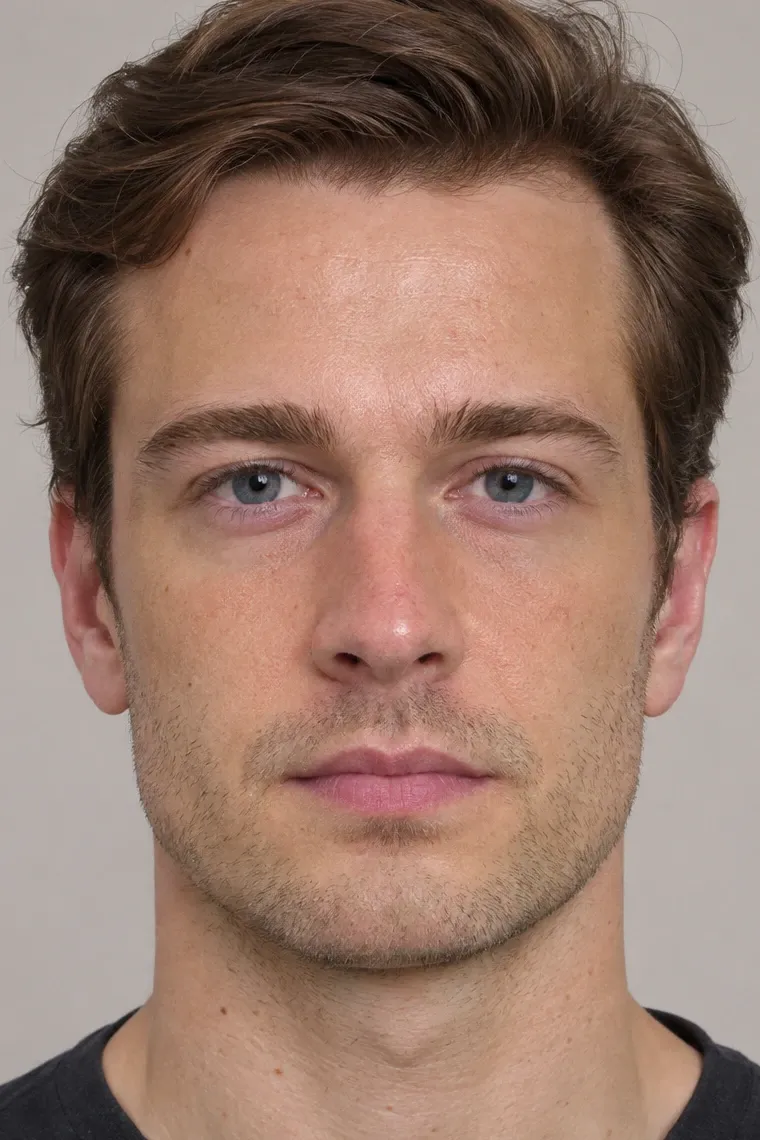
  1. StartNo makeup