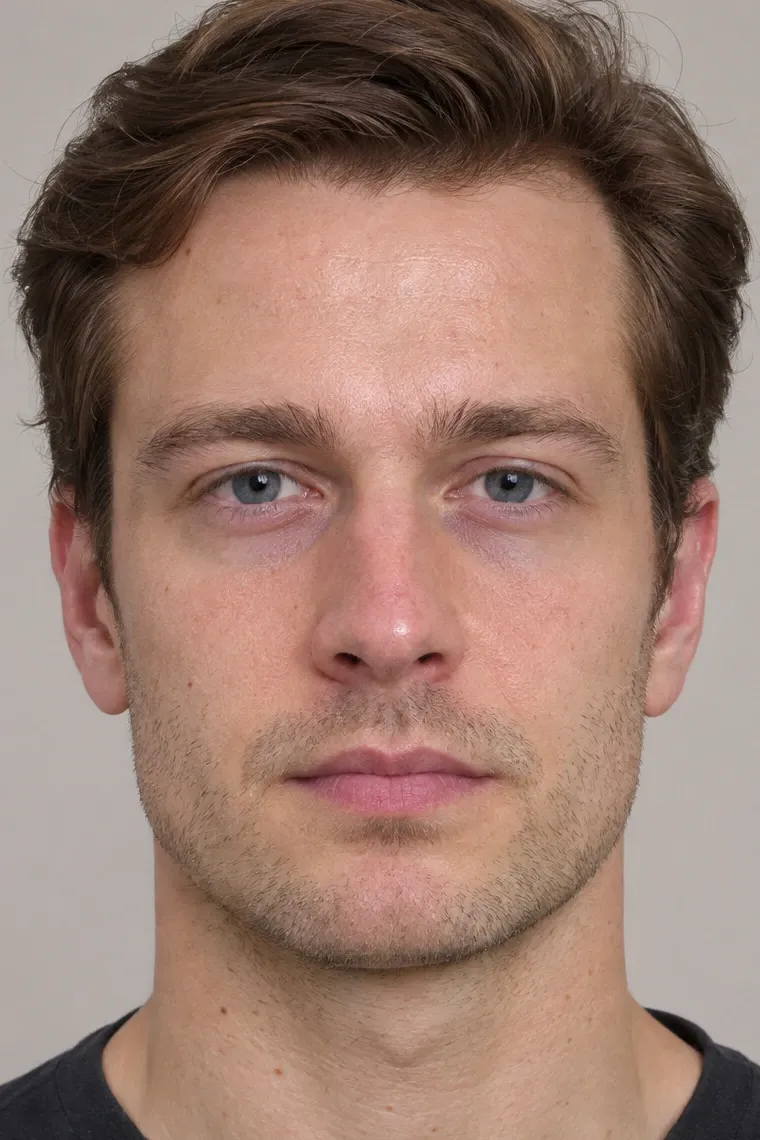
Makeup for Men

Big-night routine

For evenings that matter: events, photos, evening light. It adds an even base, more definition and a finish that lasts five hours or more, and should still read as good skin, not makeup.

~12 mintotal
0/14steps done
14 steps · about 12 min

Eyes before base. If pencil or mascara lands on your cheek, you can wipe it off without ruining the base.

WhereWhole face

01/142 minCore step

Shave and prep

Makeup sits flat and stays on smooth skin. A looksmax user who booked a session with a male-model makeup artist lists shaving before makeup as a key step.

How

  1. Shave at least an hour before if you can, so razor redness calms down.
  2. Cleanse and pat dry.
  3. SPF fluid (or moisturiser in the evening) everywhere, including under the eyes. Wait 2–3 minutes; do your hair meanwhile.

Avoid

  • Fresh razor burn under makeup: it stings and looks blotchy.
  • Rich creams right before. The base will slide off.
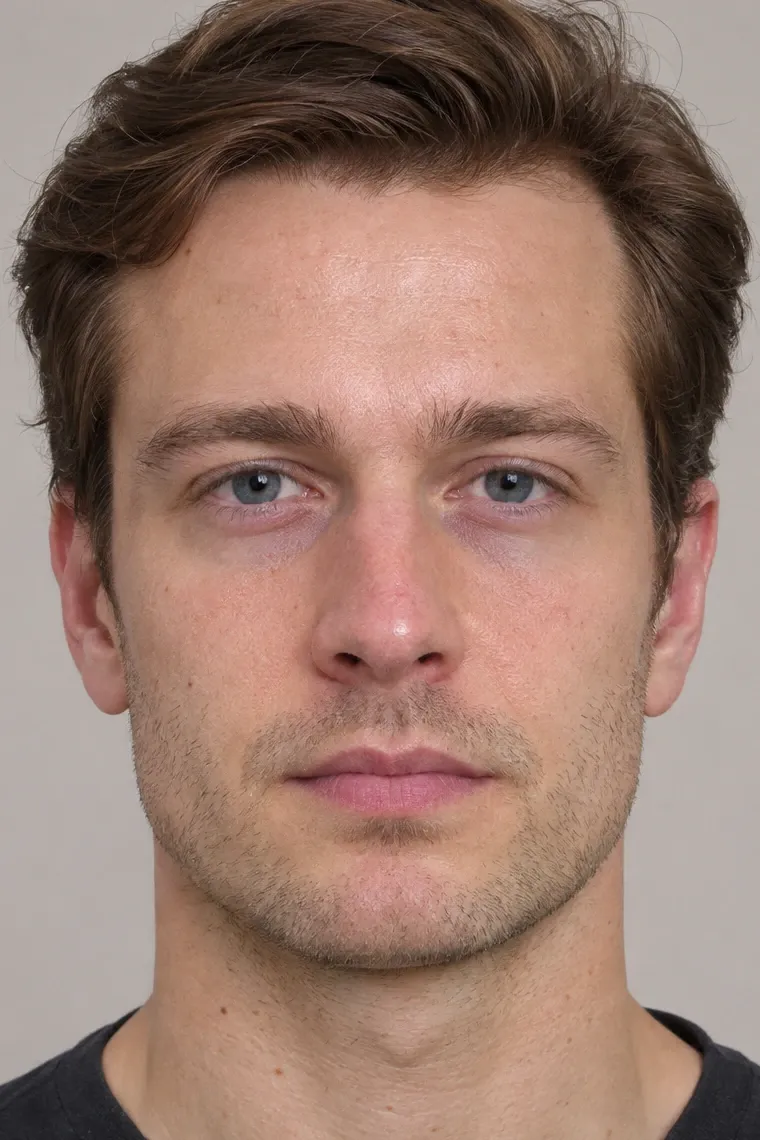
WhereT-zone: forehead centre, nose, chin

02/1430 sCore step

Primer on the T-zone

Blurs pores and slows down shine where you get oily, so the base lasts all evening.

How

  1. Take a pea-sized amount.
  2. Press it (don't rub) onto the nose, centre of the forehead and chin.
  3. Skip dry areas.
  4. Wait 1 minute.

Avoid

  • Too much: silicone primers can pill (roll into small balls) under the base.

WhereUpper lashes, from the root to the middle

After: Lashes curled
Before: No makeup

Drag or use the arrow keys to compare.

Lash curler: at the roots, gentle squeeze, then the middle, open before pulling away

03/1430 sCore step

Curl the lashes

Same as daily: lifted lashes, more open eyes. Do it now, before any pencil or mascara.

How

  1. Look down into the mirror and place the curler at the lash roots.
  2. 5 s gentle squeeze at the base, 3 s in the middle, tips left alone.
  3. Open fully before pulling away.

Avoid

  • A crimped kink, or a doll-like C-curl.

WhereRoots of the upper lashes (upper waterline)

After: Tightlined
Before: Lashes curled

Drag or use the arrow keys to compare.

04/141 minCore step

Tightline the upper lash line

Darkening the roots between your lashes makes the lash line look thick and the eyes more defined, with no visible eyeliner. It's the “invisible eyeliner” trick; looksmax users do a version with a brow pencil at the lash roots.

How

  1. Twist up the pencil and warm the tip on the back of your hand so it glides.
  2. Look down into the mirror. With one finger at the brow, gently lift the upper lid until you can see the underside of the lash roots.
  3. Wiggle the pencil tip into the roots / upper waterline in short strokes, from the outer corner inward.
  4. Blink a few times, then wipe away anything that landed on the lid or under the eye.

Avoid

  • The lower waterline: it makes the eyes look smaller and reads as eyeliner.
  • Any line visible on the lid.
  • Forcing it if your eyes sting or water. Skip the step.

Never share eye pencils, and clean the tip with a tissue before each use.

WhereUpper lashes, from the root to the middle

After: Two coats of mascara
Before: Tightlined

Drag or use the arrow keys to compare.

Mascara: wiggle at the roots, then sweep up and out once

05/141 minCore step

Mascara, two thin coats

A bit more definition than daily, for evening light and photos, still focused on the roots.

How

  1. Wipe the wand. First coat: wiggle at the roots, pull through, keep the tips light.
  2. Wait 30 s, then a second coat on the roots only.
  3. Comb out any clumps with the wiped-clean wand.
  4. Lift dots off the lid with a dry cotton bud.

Avoid

  • Lower lashes.
  • Wet coats on top of each other, which clump.

WhereCentre of the face, fading out towards the edges

After: BB cream
Before: Two coats of mascara

Drag or use the arrow keys to compare.

BB cream: dots in the centre, bounced outward with a damp sponge

06/142 minCore step

Thin BB cream, centre-out

Evens out redness and uneven tone across the centre of the face for photos and close-ups. Keeping it to the centre keeps the edges natural and keeps it off your collar.

How

  1. Wet the sponge and squeeze out all the water. It should be damp, not dripping.
  2. Use a pea-sized amount for the whole face. Dot it where you're red or uneven: beside the nose, inner cheeks, chin, centre of the forehead.
  3. Bounce it outward with the sponge (don't swipe) and let it fade to nothing towards the hairline, ears and jaw.
  4. Stubble area: one very light pass with what's left on the sponge.
  5. Wait 1–2 minutes. It goes on slightly grey and settles. Then check at the window.

Avoid

  • Putting it straight onto stubble, where it clings to the hairs.
  • A stop line at the jaw. Fade it out instead of painting up to an edge.

One thin layer is plenty: this BB cream has high coverage. Wash the sponge afterwards.

WhereUnder-eye inner corners, plus any blemishes

After: Under-eye and spots
Before: BB cream

Drag or use the arrow keys to compare.

Under-eye brightener: one short line at the inner corner, tapped in with the ring finger

07/141½ minCore step

Under-eye and spots

The base has already done most of the work, so you need far less concealer than on a bare face.

How

  1. Under-eye brightener as in the daily routine: inner corner and tear trough only, tapped in.
  2. Concealer only on what the BB cream didn't cover. Tap the edges.
  3. Use a clean corner of the damp sponge to melt the edges into the base.

Avoid

  • Stacking thick layers under the eyes. They crease within an hour.

WhereT-zone, plus a light press under the eyes

After: Powder
Before: Under-eye and spots

Drag or use the arrow keys to compare.

08/1445 sCore step

Set the shiny zones

Locks the under-eye product so it doesn't crease and keeps the T-zone matte for hours. Men's skin should look satin, not powdery.

How

  1. Swirl the brush lightly in the compact and tap off the excess.
  2. Press (don't sweep) onto the nose, centre of the forehead and chin.
  3. With what's left, press once lightly under the eyes.
  4. Leave the cheeks and the outer face unpowdered so they keep their natural texture.

Avoid

  • Heavy powder under the eyes: it looks dry and turns white in flash photos.
  • Powdering the whole face flat.

WhereUnder the cheekbones, under the jawline, temples

After: Contour
Before: Powder

Drag or use the arrow keys to compare.

Bronzer: tap off the excess, then a soft “3” from temple to jaw

09/141½ minCore step

Contour and bronze

Soft shadows under the cheekbones and the jaw make the face look leaner and the jawline sharper. Rule of thumb from the Looksmaxxing Wiki: if someone can tell, you did too much.

How

  1. Find the hollow: suck your cheeks in slightly. Put the brush just above the hollow, at the ear.
  2. Sweep from the ear towards the corner of the mouth, and stop level with the outer edge of your iris.
  3. Jaw: sweep along and just under the jawbone, from below the ear towards the chin. The shadow under the jaw is what makes it look sharp.
  4. Temples: a light touch towards the hairline.
  5. Blend until there are no stripes, and soften the jaw line down onto the neck.
  6. With what's left on the brush, lightly sweep the forehead edges and the nose bridge for warmth.

Avoid

  • Contouring the nose. In daylight it looks drawn on, and it does little in real life.
  • Taking the contour all the way to the corner of the mouth: it looks gaunt and theatrical.

WhereBrows, brushed up and out

After: Brow gel
Before: Contour

Drag or use the arrow keys to compare.

Brow gel: brushed up, then out, starting from the middle

10/1420 sCore step

Set the brows

Holds the brows in place for the night.

How

  1. Wipe the excess off the wand on the tube rim.
  2. Brush the hairs up first, then outward along their natural direction, in light strokes. Start from the middle, not the inner end, which gets overloaded.
  3. Where there are gaps, flick the gel against the growth once, then brush it back.
  4. That's it. Don't reshape the outline.

Avoid

  • The laminated look (every hair brushed straight up, flat and glossy). It's a women's trend.
  • Too much product at the inner end, which makes a blocky start.

WhereLips

After: Big-night routine done
Before: Brow gel

Drag or use the arrow keys to compare.

11/1410 sCore step

Tinted balm

Healthy-looking lips in photos.

How

  1. Dab it on the centre of both lips.
  2. Press your lips together, then blot once on the back of a finger.
  3. Reapply during the day as normal balm.

Avoid

  • Tracing the edges or applying it like lipstick.
  • Gloss.

WhereWhole face

12/1430 sCore step

Setting spray

Melts the powder into the skin, so it looks less powdery and more like skin, and makes everything last through a long evening.

How

  1. Close your eyes and mouth.
  2. Hold it 20–25 cm away and mist in an X, then a T: 3–4 sprays.
  3. Let it dry for 1 minute without touching your face.

Avoid

  • Spraying too close, which leaves wet spots and drips.

WhereWhole face

After: Big-night routine done
Before: No makeup

Drag or use the arrow keys to compare.

13/1430 sCore step

Flash-photo check

Evenings mean flash photos. SPF and powder can bounce flash back as a white cast you can't see in a mirror.

How

  1. Take a selfie with the flash on.
  2. White under the eyes? Press the area with the damp sponge or your fingertips to lift excess powder.
  3. Then a window check: edges, jaw, lashes, brows.

Avoid

  • Judging your makeup only under bathroom light.

WhereT-zone: forehead centre, nose, chin

14/14During the eveningCore step

Touch-ups during the night

Shine is what ruins a look after three hours, and it's the easiest thing to fix.

How

  1. Carry blotting papers and the lip balm; the powder compact is optional.
  2. Every 2–3 hours, or when you're shiny, press a blotting paper onto the T-zone. Don't wipe.
  3. Reapply lip balm after eating or drinking.
  4. Powder only after blotting, and only a light press.

Avoid

  • Powder straight onto oil, which looks cakey.
  • Touching your face, which moves product around.

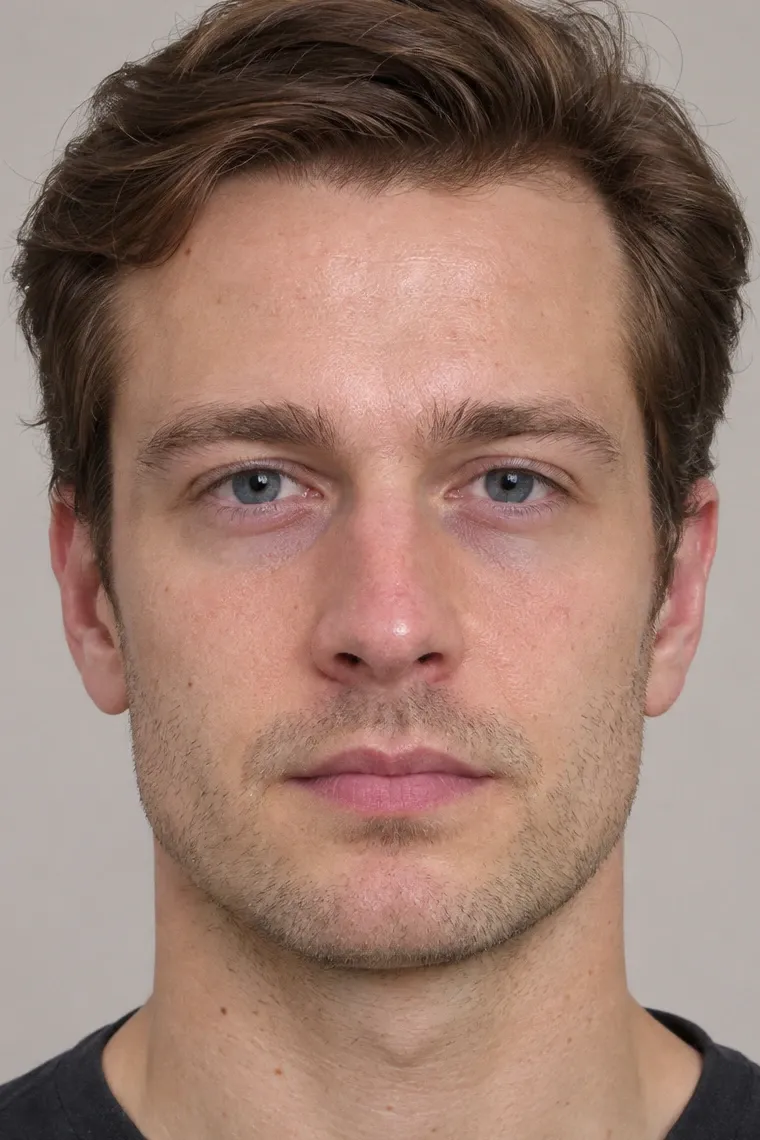
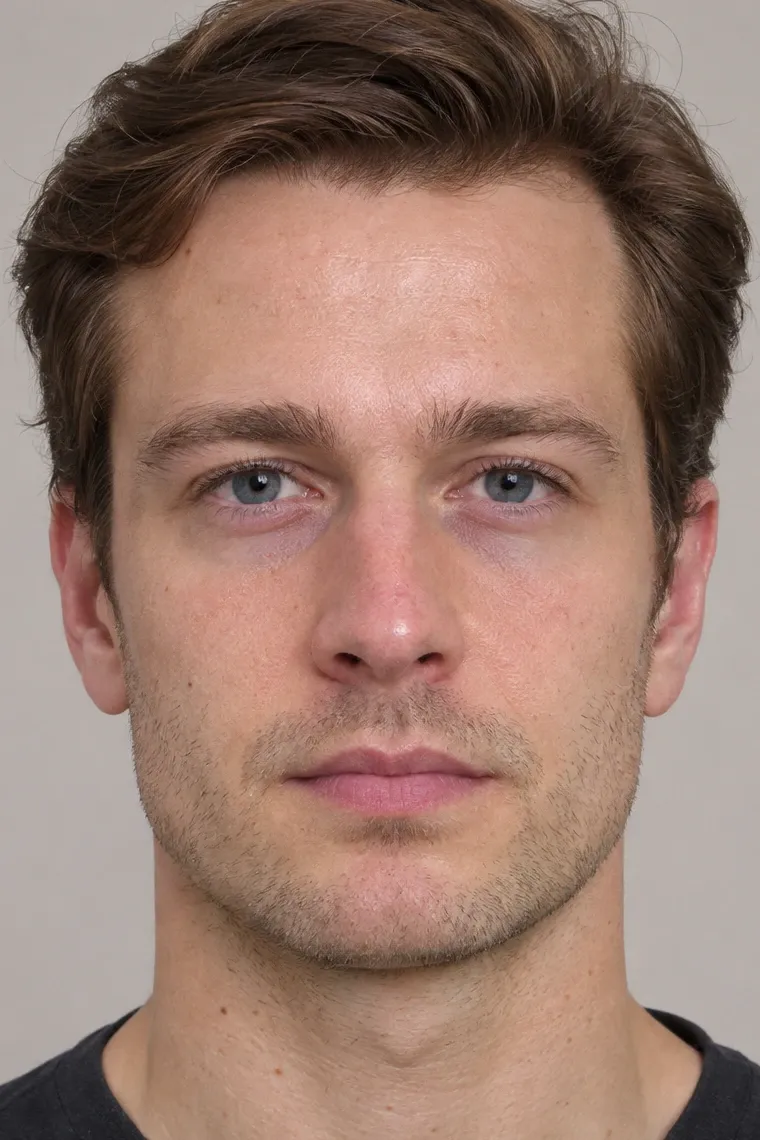
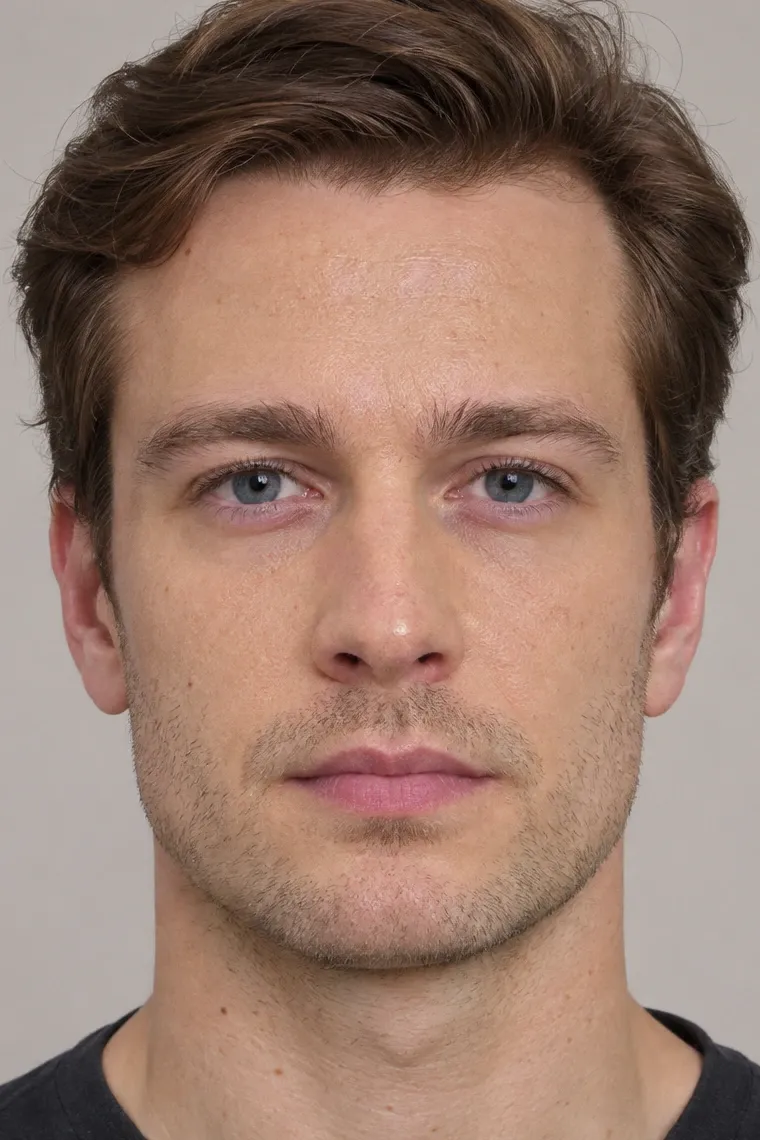
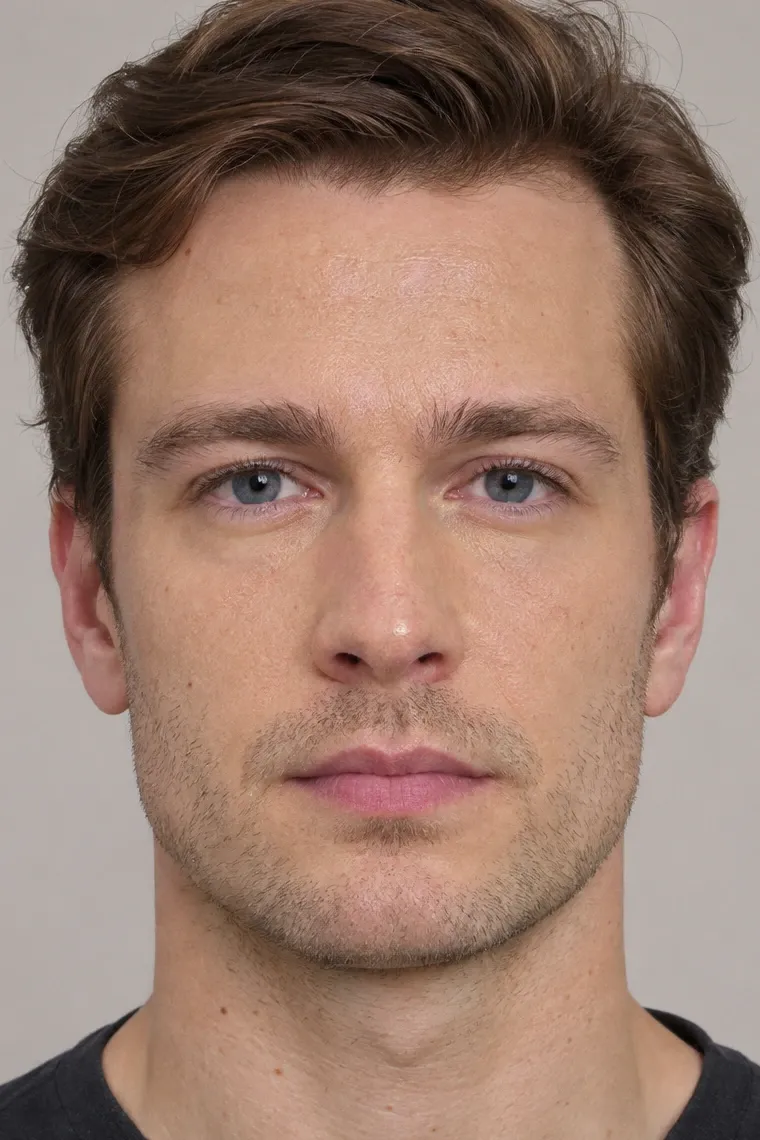
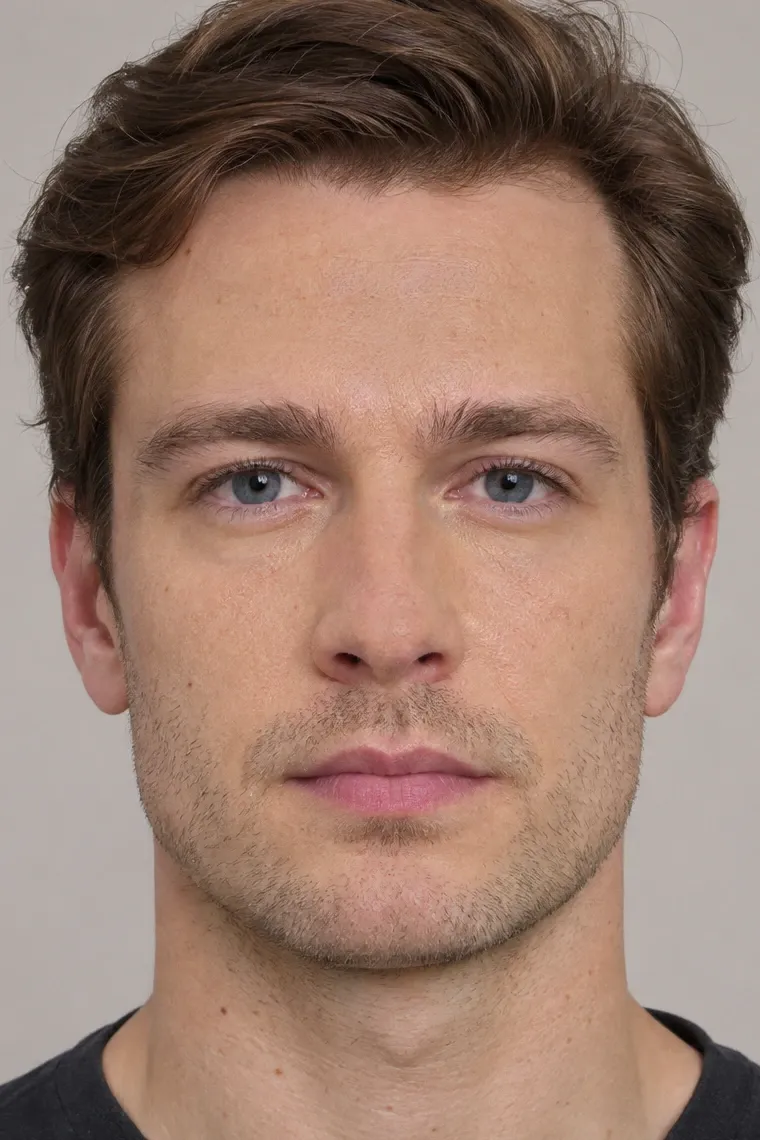
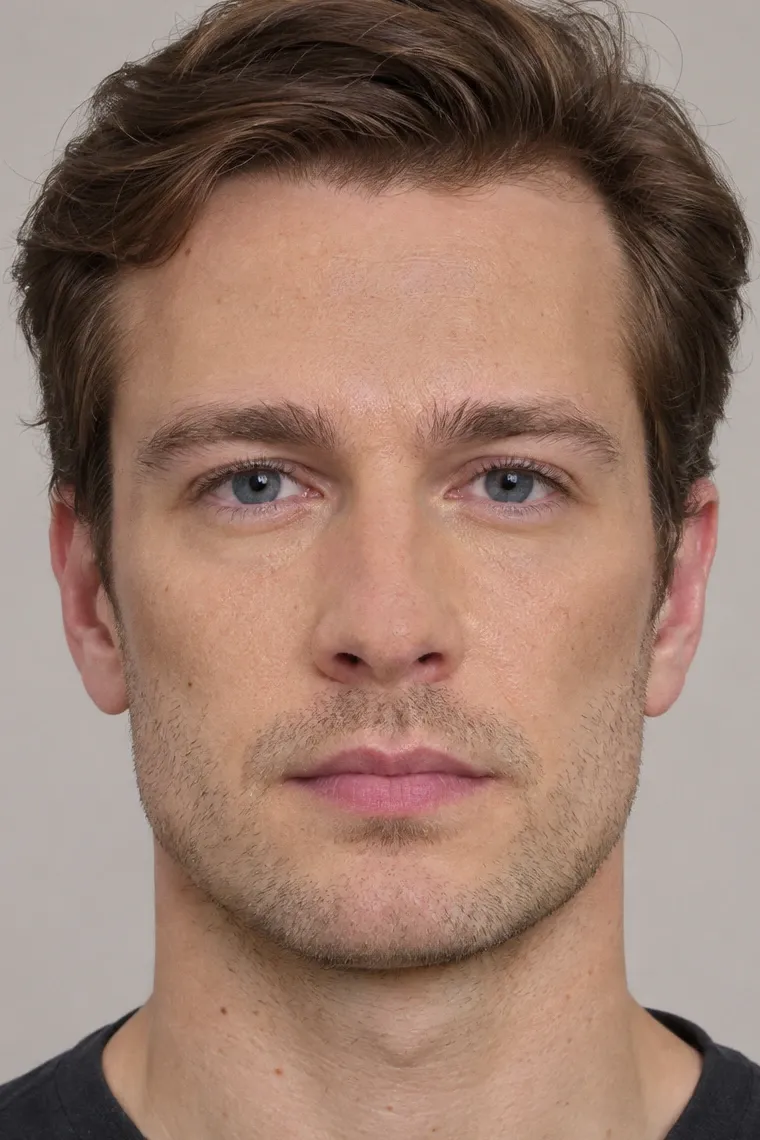
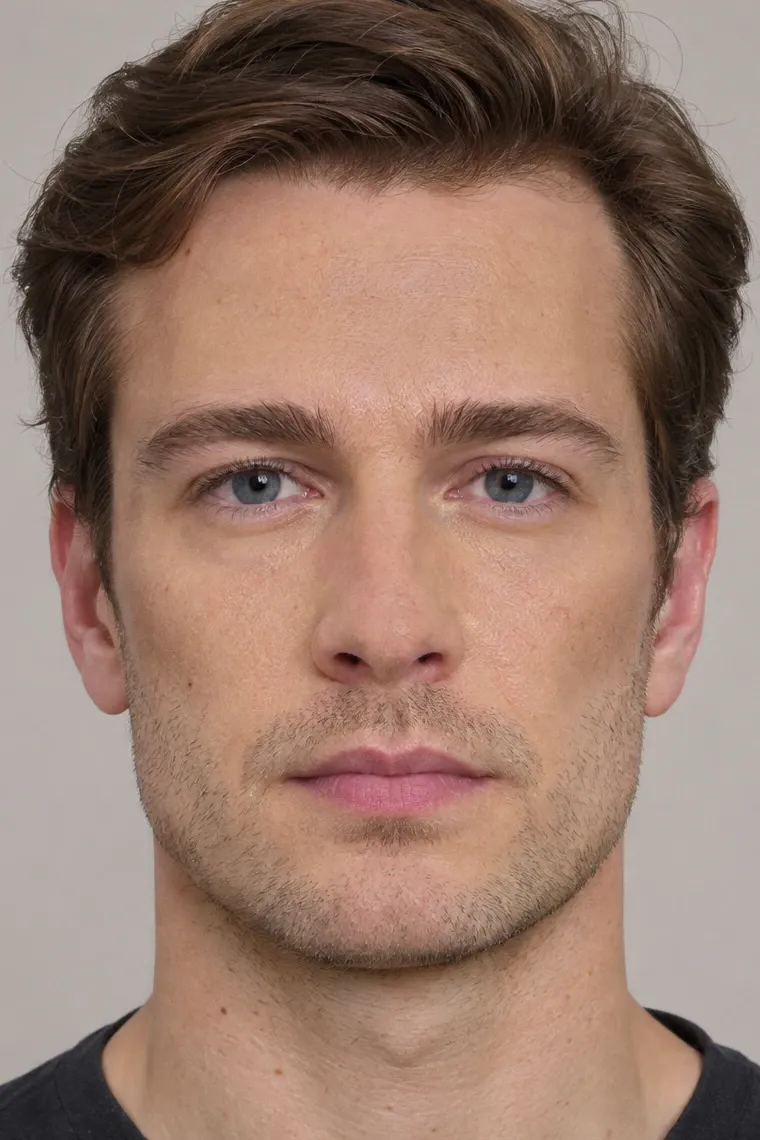
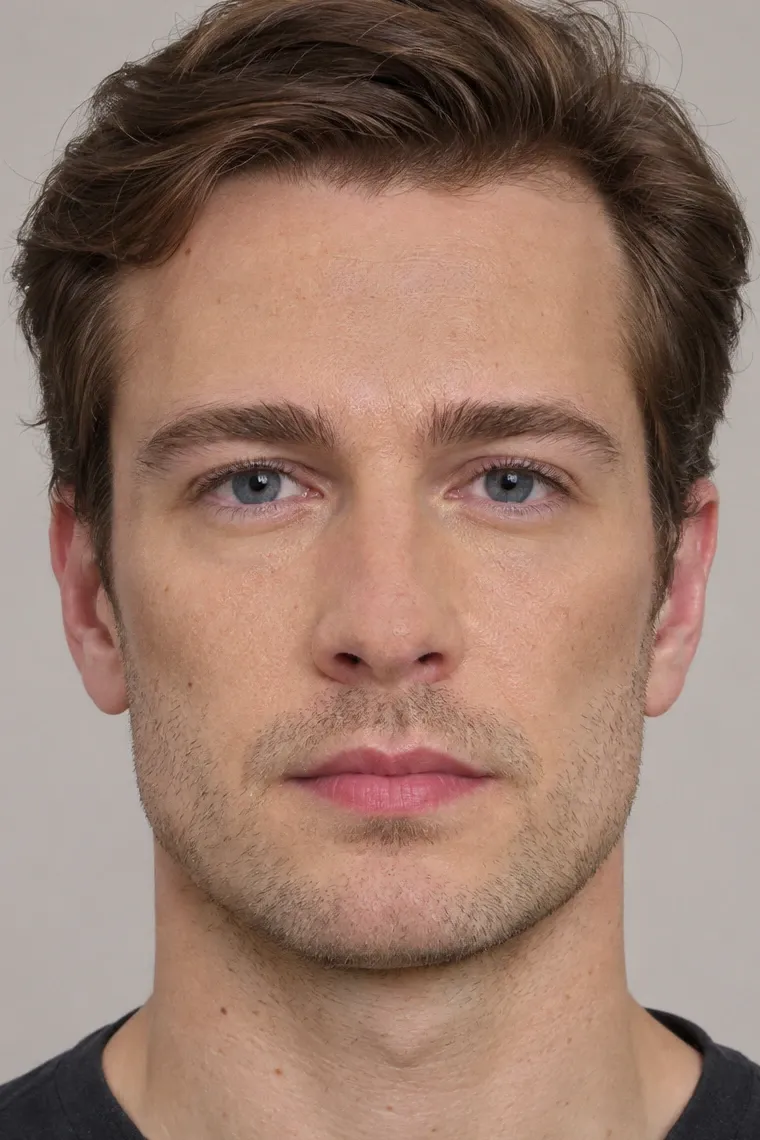
How the face changes

The face after each visible step. Select one to open that step.

  1. StartNo makeup